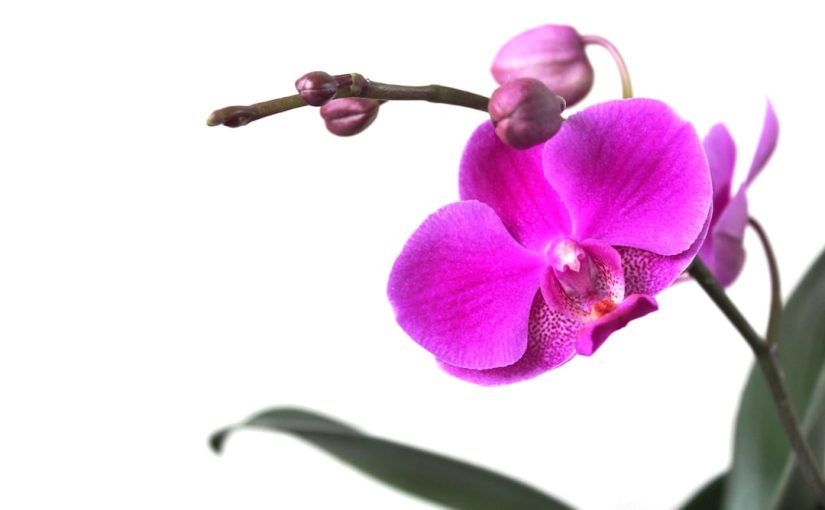
Orchids, with their exquisite blooms and elegant presence, often find a cherished spot in homes. Yet, for many, the dream of nurturing these exotic beauties quickly fades, replaced by the reality of wilting leaves and lost flowers. The widespread perception that orchids are notoriously difficult to keep alive is, fortunately, more myth than truth. While they certainly have specific needs, understanding these requirements and establishing a consistent care routine can transform you into a confident orchid whisperer. This guide aims to demystify orchid care, providing practical, actionable steps to ensure your potted masterpiece thrives and reblooms, gracing your indoor space with its unparalleled beauty for years to come. Let’s unlock the secrets to a vibrant, enduring orchid.
Understanding your orchid’s needs – the foundation of care
The first step to successful orchid care begins with identification and understanding its natural habitat. Most orchids sold in nurseries and supermarkets are Phalaenopsis, or Moth Orchids, known for their relatively forgiving nature and long-lasting blooms. However, varieties like Cattleya, Dendrobium, and Oncidium also grace many homes, each with subtly different requirements. Unlike typical houseplants, most orchids are epiphytes, meaning they grow on other plants (like trees) in their native tropical environments, not in soil. Their roots are adapted to absorb moisture and nutrients from the air and rain, not from dense soil. This crucial detail dictates everything from their potting medium to watering frequency. A common mistake is treating an orchid like a standard potted plant, which quickly leads to root rot from overly dense, water-retentive soil.
The art of watering – not too much, not too little
Watering is arguably the most critical aspect of orchid care, and simultaneously the most misunderstood. The “ice cube method” is often touted for Phalaenopsis orchids, but it can shock the roots and doesn’t provide the thorough saturation orchids prefer. Instead, opt for a method that mimics natural rainfall. Take your orchid to a sink and thoroughly drench the potting medium with room-temperature water for about 15-30 seconds. Allow all excess water to drain completely from the pot. Never let your orchid sit in standing water, as this will lead to root rot. The frequency of watering depends on several factors: the type of potting medium (bark dries faster than sphagnum moss), humidity levels, ambient temperature, and the specific orchid species. Generally, allow the potting medium to become almost dry before watering again. For bark mixes, this might be every 7-10 days; for sphagnum moss, it could be every 10-14 days. You can check by feeling the weight of the pot or inserting a finger or skewer into the medium.
| Orchid type | Common potting media | General watering frequency |
|---|---|---|
| Phalaenopsis (Moth Orchid) | Bark mix | Every 7-10 days |
| Phalaenopsis (Moth Orchid) | Sphagnum moss | Every 10-14 days |
| Cattleya | Bark mix | Every 5-7 days |
| Dendrobium | Bark mix | Every 5-7 days (during active growth) |
Note: Always check media dryness before watering; these are general guidelines.
Light, humidity, and temperature – creating the ideal environment
Orchids thrive in conditions that mimic their tropical homes, meaning bright, indirect light, high humidity, and appropriate temperatures.
- Light: Most indoor orchids, especially Phalaenopsis, prefer bright, indirect light. An east-facing window is often ideal, providing gentle morning sun. A north-facing window might be sufficient but could lead to fewer blooms. South or west-facing windows can provide too much direct, intense light, causing leaf scorch. Signs of adequate light include healthy, medium-green leaves. Dark green leaves might indicate insufficient light, while reddish or yellow leaves could mean too much.
- Humidity: High humidity (50-70%) is crucial for orchids. Indoor environments, especially with heating or air conditioning, can be very dry. To increase humidity, you can place the orchid pot on a pebble tray filled with water (ensuring the pot doesn’t sit directly in the water). Grouping plants together also creates a localized humid microclimate. A room humidifier can also be highly beneficial.
- Temperature: Most common orchids prefer daytime temperatures between 65-80°F (18-27°C) and a nighttime drop of about 10-15 degrees (55-65°F / 13-18°C). This temperature fluctuation is often a trigger for blooming, particularly for Phalaenopsis. Avoid placing orchids near drafts from windows, heating vents, or air conditioners.
Potting, fertilizing, and pest management – ongoing maintenance
Beyond the daily care, periodic maintenance ensures your orchid’s long-term health.
- Potting: Orchids typically need repotting every 1-2 years, or when the potting medium starts to break down and retain too much moisture, or when roots outgrow the pot. The best time to repot is after the orchid has finished blooming and new growth is just beginning. Use a specialized orchid potting mix, such as fir bark, sphagnum moss, or a blend, ensuring excellent drainage and air circulation. Clear plastic pots are often preferred as they allow you to monitor root health and moisture levels.
- Fertilizing: Orchids are not heavy feeders. A “weakly, weekly” approach works well – using a balanced orchid-specific fertilizer (e.g., 20-20-20) diluted to half or quarter strength, applied every one to two weeks during active growth. Flush the pot with plain water once a month to prevent salt buildup. Reduce or stop fertilizing during dormancy or when the plant is not actively growing or blooming.
- Pest management: Inspect your orchid regularly for signs of pests like mealybugs, scale, or spider mites. Early detection is key. For minor infestations, wipe affected areas with a cotton swab dipped in rubbing alcohol or a mild insecticidal soap. Neem oil can also be an effective organic treatment. Isolate new plants to prevent introducing pests to your existing collection.
Keeping an orchid alive and thriving in your home is entirely achievable, transforming from a daunting task into a rewarding hobby. We’ve explored how identifying your orchid’s specific type lays the groundwork for success, followed by mastering the critical balance of watering – ensuring thorough hydration without waterlogging. Creating an ideal microclimate with appropriate light, humidity, and temperature mirrors their natural habitat, while consistent attention to repotting, fertilization, and early pest detection completes the comprehensive care cycle. The key takeaway is consistent observation and adaptation; your orchid will communicate its needs through its leaves, roots, and blooms. Embrace these practices, and you’ll not only keep your orchid alive but witness its spectacular reblooming, proving that these captivating plants are well within the grasp of any dedicated home gardener.
Image by: Kelsey Weinkauf


