Potatoes are one of the easiest veggies to grow—even if you’re new to gardening! But if you’ve just planted your first potato “seed pieces” (the sprouted chunks of potato), you’re probably wondering: When can I dig up those tasty spuds?
The short answer: Most potatoes take 70 to 120 days from planting to harvest. But this time frame isn’t set in stone—it depends on three big things: the potato variety you choose, the weather where you live, and how you care for them. Let’s break this down simply, so you know exactly what to expect.
First: The Big Factor—Potato Varieties (Early, Mid, Late)
The biggest reason growth time varies is the type of potato. Garden centers and seed catalogs label potatoes as “early,” “mid-season,” or “late-maturing”—and each has a clear timeline. This is the first thing to check when you buy your potato seeds (yes, we plant “seed potatoes” (sprouted potato chunks), not tiny seeds!).
1. Early-Maturing Potatoes (70–90 Days)
These are the fastest-growing spuds—perfect if you want to harvest small, tender “new potatoes” (young potatoes with thin skins) early in the season. They don’t store well long-term, but they’re great for boiling or roasting fresh.
- Examples: Yukon Gold (creamy texture), Red Norland (small red skins), Charlotte (buttery flavor).
- When to plant: As soon as the soil thaws in spring (soil temp around 50°F/10°C—too cold, and they’ll rot!).
- When to harvest: 10–12 weeks after planting. You can even “snatch” a few early: gently dig around the base of the plant 6–8 weeks in—you’ll find tiny potatoes ready to eat!
2. Mid-Season Potatoes (90–105 Days)
These are the “all-purpose” potatoes—they balance speed and storage. They’re bigger than early varieties, with thicker skins (but still tender) and work for mashing, frying, or baking.
- Examples: Russet Burbank (classic for baking/fries), Kennebec (crispy when fried), Purple Majesty (vibrant, nutrient-packed).
- When to plant: Same as early potatoes—spring, after frost risk passes.
- When to harvest: 13–15 weeks after planting. They’re ready when the plants start to yellow (more on that later!).
3. Late-Maturing Potatoes (105–120+ Days)
These take the longest, but they’re the best for storing through winter. They have thick, tough skins that protect them from bruising, and they hold their flavor for months.
- Examples: King Edward (fluffy for mashing), Maris Piper (great for chips), Desiree (sweet, red-skinned).
- When to plant: Plant 1–2 weeks after early potatoes (still spring, but they need more time to mature before fall frost).
- When to harvest: 15–17 weeks after planting—usually 2–3 weeks before your first expected fall frost (frost damages potatoes left in the ground!).
Second: Weather & Temperature—Potatoes Hate Extremes
Potatoes love cool weather—they grow best when daytime temps are 60–70°F (15–21°C) and nighttime temps stay above 50°F (10°C). If it’s too hot or too cold, their growth slows down (or stops!).
- Too cold: If soil temps drop below 40°F (4°C) after planting, potato seeds won’t sprout—they’ll just rot. That’s why you wait until spring frost is gone!
- Too hot: When temps hit 85°F (29°C) or higher, potato plants stop making tubers (the “potatoes” we eat) and focus on surviving. If you live in a hot climate, plant early varieties in late winter (so they mature before summer heat) or late varieties in early fall (for a winter harvest).
- Rain/sun: Potatoes need 1–2 inches of water per week (either from rain or watering) to grow tubers. Too little water = small, tough potatoes. Too much = rotting roots. They also need 6+ hours of sun daily—no shady spots!
Third: How You Plant Them—Small Tweaks That Speed Things Up
Even with the right variety and weather, how you plant can cut (or add) a week or two to growth time. Here are three easy tips for beginners:
1. “Chit” Your Seed Potatoes First (Save 1–2 Weeks)
“Chitting” means letting seed potatoes sprout before planting. It’s simple:
- 2–3 weeks before planting, lay your seed potatoes in a cool (60°F/15°C), bright spot (not direct sun—too hot!).
- Let 1–2 inch (2–5 cm) sprouts grow from the “eyes” (the little dimples on the potato).
- Planting sprouted potatoes skips the 1–2 weeks it would take for sprouts to emerge from unchitted ones—so you get to harvest faster!
2. Hill the Plants (Boost Tuber Growth)
“Hilling” is covering the base of the potato plant with soil or straw as it grows. Here’s why it helps:
- Potato tubers (the spuds) grow underground, but they turn green and toxic if they’re exposed to sunlight.
- Hilling also keeps the soil cool and moist, which helps tubers grow bigger faster.
- How to do it: When the plant is 6–8 inches tall, pile 2–3 inches of soil/straw around the stem (leave the top leaves exposed). Do this 2–3 times during the growing season.
3. Use Mulch (Keep Soil Happy)
Cover the soil around potato plants with straw, grass clippings, or shredded leaves. Mulch:
- Keeps soil cool (critical in warm climates).
- Stops weeds from stealing water/nutrients (weeds slow potato growth!).
- Reduces watering needs (mulch holds moisture).
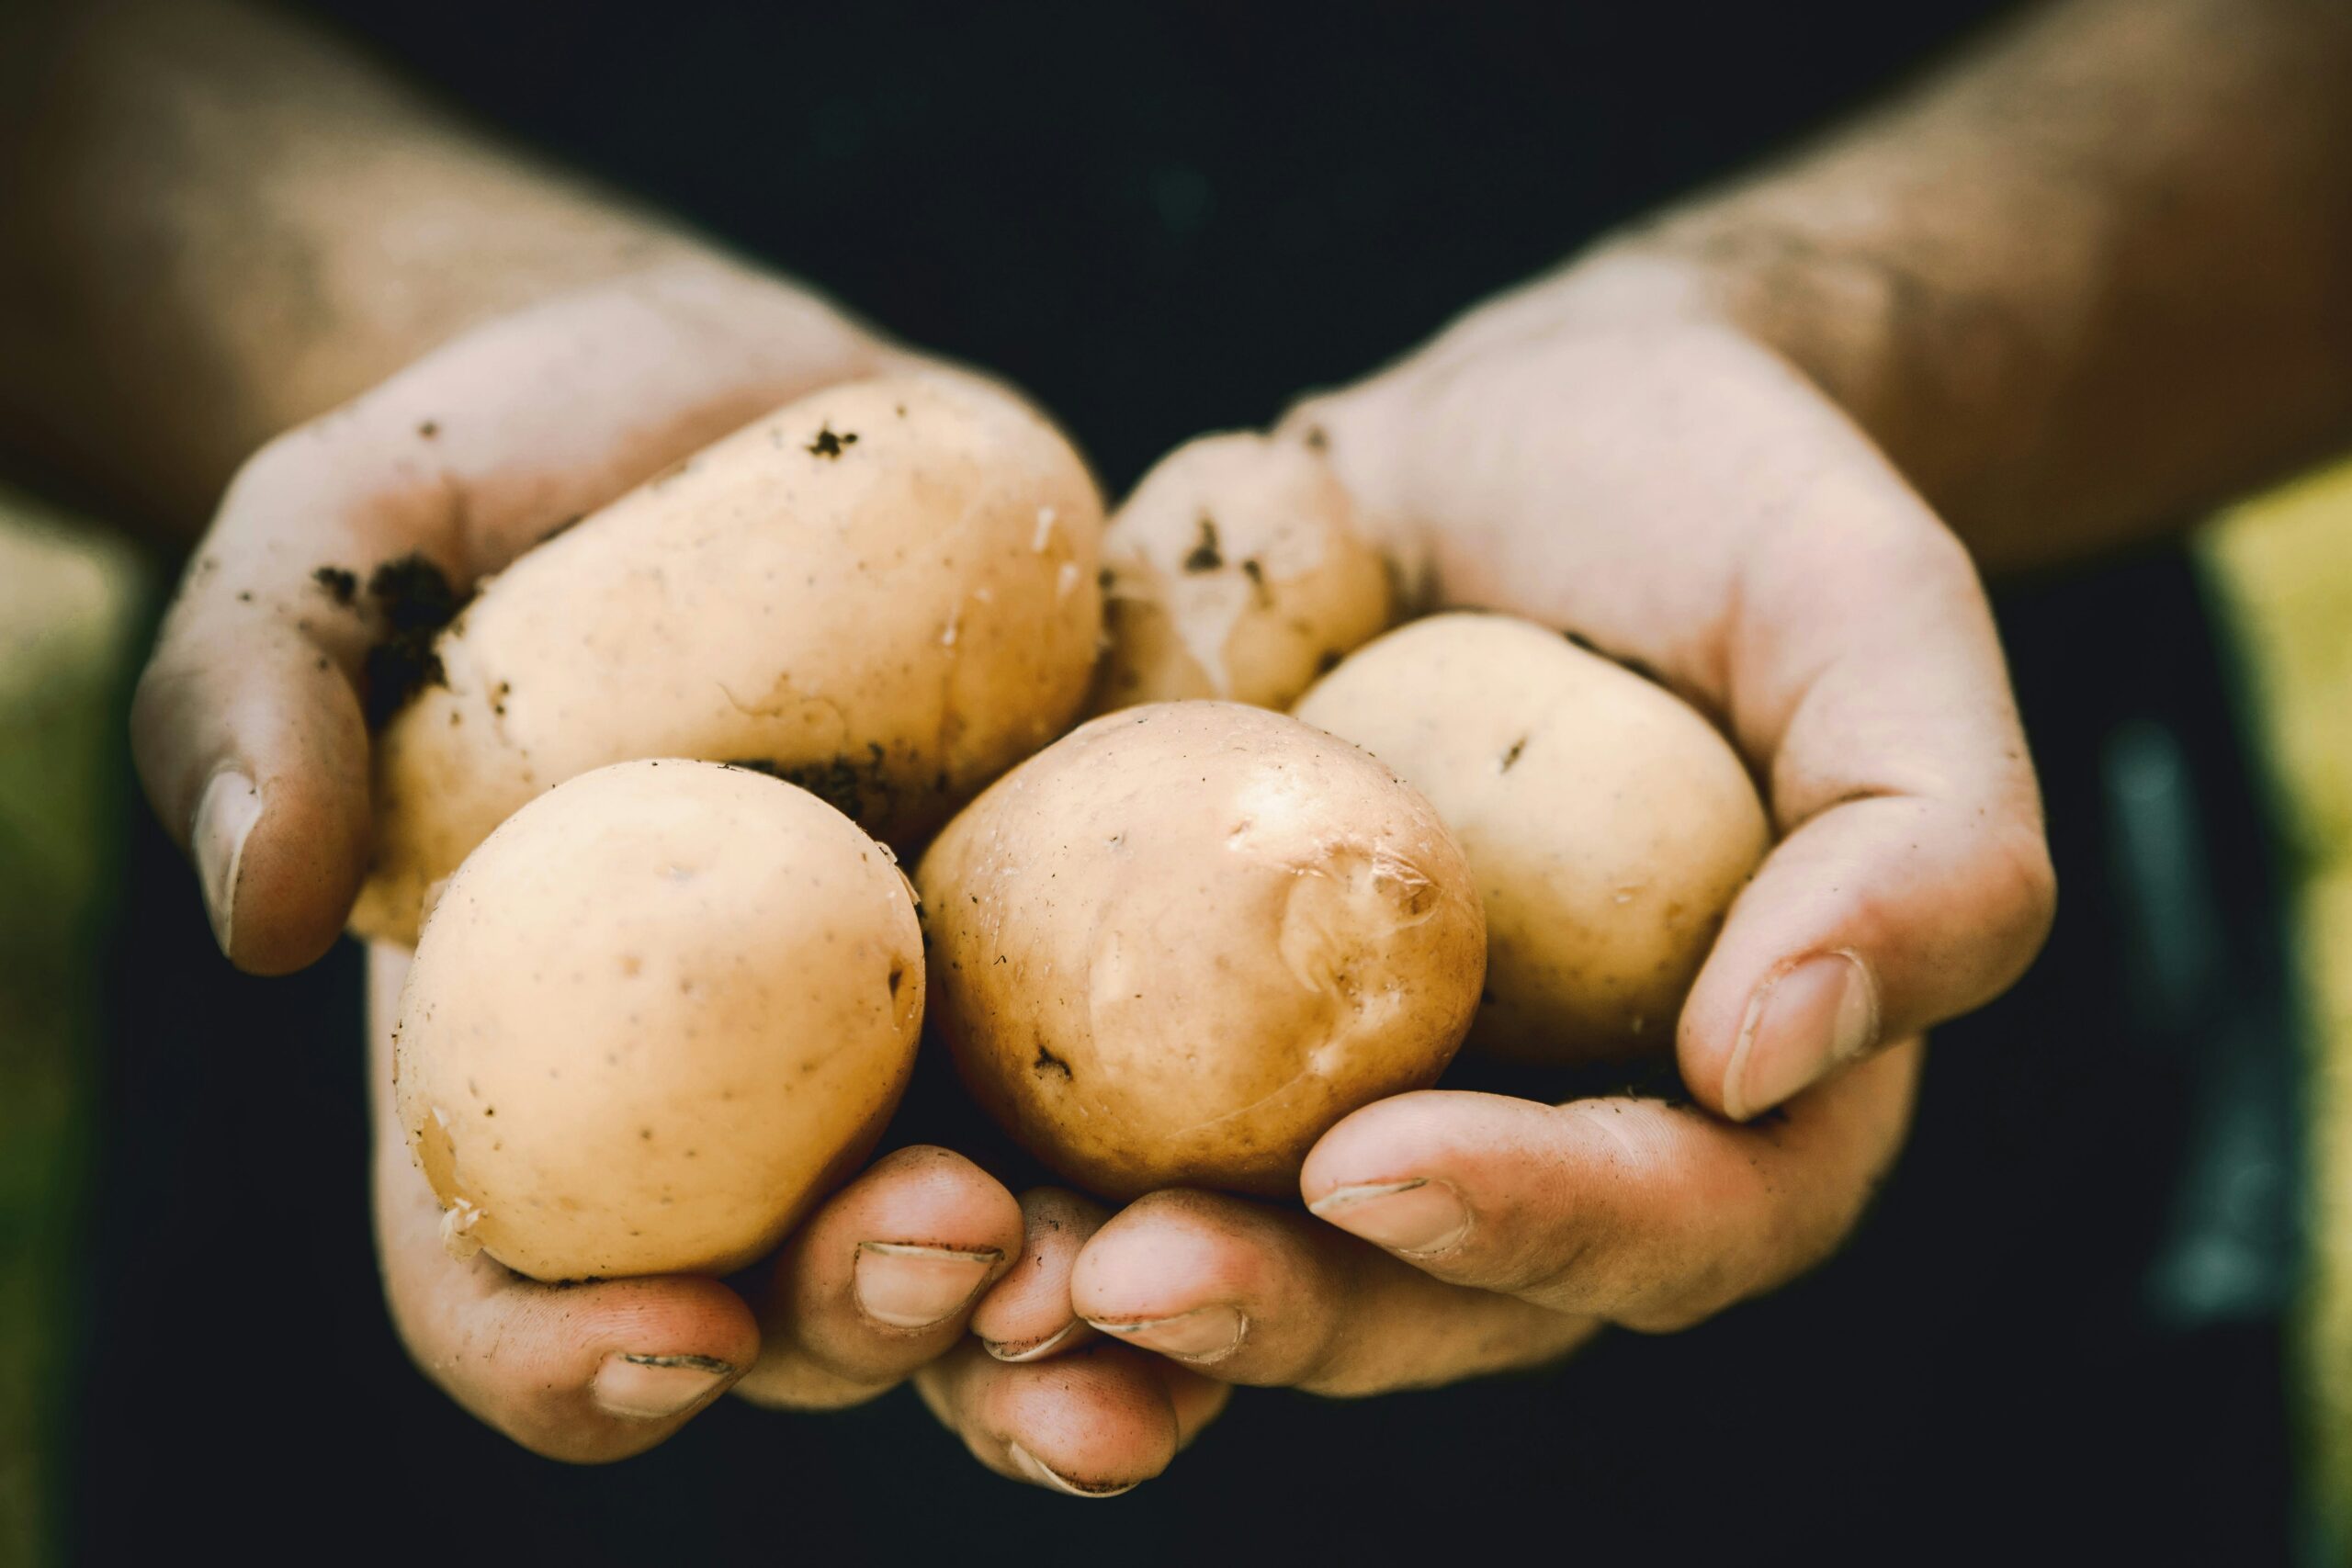
How to Know When Your Potatoes Are Ready to Harvest
You don’t have to guess—potato plants “tell” you when they’re ready! Look for these signs:
For Early/New Potatoes
- The plants are 8–10 weeks old, and the leaves are still green (no need to wait for yellowing!).
- Gently dig around the base of the plant with your hands or a small trowel—you’ll see small potatoes (1–2 inches wide) with thin skins. These are perfect for eating fresh!
For Mid/Late-Maturing Potatoes (Full-Size)
- The plant’s leaves turn yellow and start to die back (this means the plant is stopping growth and sending nutrients to the tubers).
- Wait 1–2 weeks after the leaves die—this lets the potato skins thicken (thicker skins = better storage).
- To harvest: Loosen the soil around the plant with a garden fork (be gentle—don’t stab the potatoes!). Pull the plant up by the stems—potatoes will hang from the roots!
Common Mistakes That Slow Potato Growth (And How to Fix Them)
New gardeners often make small errors that add weeks to growth time. Here’s what to avoid:
- Planting too deep or too shallow:
- Too deep (more than 4 inches): Sprouts take longer to reach the sun.
- Too shallow: Tubers get sunburned (green and toxic) and stop growing.
- Fix: Plant seed potatoes 3–4 inches deep, with sprouts facing up.
- Overwatering or underwatering:
- Overwater: Roots rot, so the plant can’t take up nutrients.
- Underwater: Tubers shrink and stop growing.
- Fix: Water when the top 1 inch of soil feels dry—stick your finger in to check!
- Planting at the wrong time:
- Planting too early (frost): Seeds rot.
- Planting too late (hot summer): Tubers stop forming.
- Fix: Check your local “last frost date” (use a gardening app or extension office). Plant early varieties 1–2 weeks after that date.
Final Tip for Beginners: Start Small!
You don’t need a big garden to grow potatoes—they work in pots, buckets, or even grow bags (just make sure the container is at least 12 inches deep). Plant 4–6 seed potatoes, and in 10–15 weeks, you’ll have enough to feed your family for weeks.
Growing potatoes is one of the most rewarding gardening projects for beginners—watch those sprouts turn into plants, and soon you’ll be digging up your own fresh spuds. Just remember: patience + the right variety = delicious results!


