A horizontal louvered fence offers a sophisticated blend of privacy, airflow, and aesthetic appeal, transforming any outdoor space into a modern sanctuary. Unlike traditional solid fences, their unique design allows for controlled visibility and ventilation, making them an ideal choice for patios, gardens, or pool areas where both seclusion and a gentle breeze are desired. Building one yourself can be a rewarding project, enhancing your property’s value and curb appeal. This guide will walk you through every essential step, from initial design considerations and material selection to post installation, louver attachment, and the crucial finishing touches, ensuring your DIY louvered fence is both beautiful and structurally sound.
Planning your elegant louvered privacy fence
Before any digging begins, thorough planning is paramount for a successful horizontal louvered fence project. Start by assessing your site. Consider sun exposure throughout the day, prevailing wind directions, and how the fence will integrate with existing landscaping or structures. Understanding local zoning laws and homeowner association regulations regarding fence height, setbacks, and materials is critical to avoid costly rework or penalties; always check for necessary permits before proceeding. Next, dive into the design specifics. Determine your desired fence height and the ideal spacing between posts. Material selection is another key decision. Common choices include treated lumber (pine, cedar, redwood), composites, or even metal for a more industrial look. Cedar and redwood are naturally resistant to rot and insects, offering excellent longevity, while treated pine is a more economical option that requires regular sealing. For the louvers themselves, consider the slat width and thickness, as these will influence both aesthetics and durability. Finally, compile a comprehensive list of tools and materials, including posts, louver slats, concrete, fasteners, a level, string line, post-hole digger, saw, and safety gear.
Laying the groundwork: stable post installation
The stability of your louvered fence hinges entirely on properly installed posts. Begin by accurately laying out your fence line using string and stakes, marking the exact location for each post. Typically, posts are spaced 6 to 8 feet apart, depending on the louver material and desired rigidity. Once marked, dig the post holes. A good rule of thumb is to dig holes that are three times the width of the post and extend at least 1/3 to 1/2 the post’s height below ground level (e.g., for a 6-foot-tall fence above ground, an 8-foot post would require a 2-foot deep hole). Ensure the holes have flared bottoms for added stability. Place about 6 inches of gravel at the bottom of each hole for drainage, then set your posts. Using a post-hole level, plumb each post perfectly vertical, bracing it temporarily if necessary. Mix concrete according to manufacturer instructions and pour it into the hole, ensuring no air pockets. Slope the concrete slightly away from the post at the top to shed water. Allow the concrete to cure fully, typically 24-48 hours, before applying any load to the posts. This crucial curing period prevents movement and ensures long-term structural integrity.
Crafting and securing your horizontal louver slats
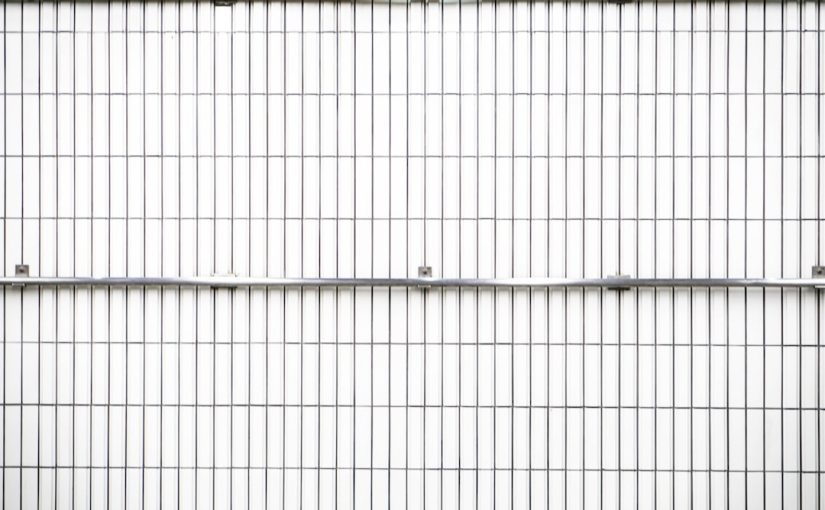
With the posts firmly in place, the exciting part begins: attaching the horizontal louvers. Start by preparing your louver slats. If using wood, cut them to the exact length needed to span between your posts. Sand any rough edges and apply a wood preservative, stain, or paint before installation, as it’s easier to coat all surfaces thoroughly on the ground. The critical decision here is the louver angle and spacing. A common angle for privacy is 45 degrees, which blocks direct views while still allowing some light and airflow. For consistent results, it is highly recommended to build a simple jig. This jig, typically made from scrap wood, can be notched to hold the louver at the desired angle and spacing while you attach it. Starting from the bottom, position the first louver using your jig and attach it securely to the posts using weather-resistant screws. Predrilling pilot holes will prevent wood splitting. Work your way up, using the jig for each slat to maintain uniform spacing and angle. For wider spans, you might consider adding a vertical stringer between posts for extra support for the louvers, preventing sag over time. Ensure all fasteners are driven flush or slightly countersunk for a clean finish.
The final touches and preserving your fence’s beauty
Once all your louvers are securely in place, it’s time for the finishing touches that will elevate your fence from functional to fabulous. Inspect the entire fence for any minor imperfections; trim any excess louver length if necessary, and fill any visible screw holes with wood putty if desired, sanding smooth once dry. The most critical final step for wooden fences is applying a protective finish. A high-quality exterior stain, paint, or sealant will shield the wood from UV damage, moisture, and pests, significantly extending its lifespan. Choose a finish that complements your home’s exterior and landscaping. Apply evenly according to the product’s instructions, paying close attention to end grains and cut surfaces which are most vulnerable to moisture absorption. For long-term maintenance, plan for regular cleaning to remove dirt, mildew, and debris. Inspect your fence annually for any signs of wear, rot, loose fasteners, or warping slats, addressing issues promptly to prevent minor problems from escalating. Reapplying your protective finish every few years, as recommended by the product manufacturer, will keep your louvered fence looking beautiful and performing its best for decades to come.
Below is a general guide for common wood types used in horizontal louvered fences:
| Wood type | Appearance | Durability/resistance | Maintenance | Cost (relative) |
|---|---|---|---|---|
| Pressure-treated pine | Greenish hue, can be stained | Good rot and insect resistance | Stain/seal every 2-3 years | $ |
| Cedar | Rich reddish-brown, weathers to silver-gray | Excellent natural rot and insect resistance | Seal every 3-5 years (optional for appearance) | $$ |
| Redwood | Deep red-brown, ages gracefully | Superior natural rot and insect resistance | Seal every 3-5 years (optional for appearance) | $$$ |
| Composite | Various colors, consistent finish | Excellent rot, insect, and weather resistance | Occasional cleaning | $$$-$$$$ |
Building a horizontal louvered fence is a project that yields significant rewards, offering a perfect blend of modern aesthetics, privacy, and functional airflow for your outdoor living spaces. We’ve explored the journey from meticulous initial planning and understanding local regulations to ensuring rock-solid post installation and the precise crafting and attachment of each louver slat. We concluded with the vital importance of applying protective finishes and committing to routine maintenance to guarantee your fence’s longevity and continued beauty. By following these detailed steps, even a DIY enthusiast can achieve a professional-looking and durable louvered fence. Remember that patience, precision, and adherence to safety guidelines are your best tools throughout this process. The result will be a striking and practical addition to your home, providing a private oasis for relaxation and enjoyment for many years to come.
Image by: Alvaro Matzumura


